Planning Space Desktop download and installation
If you need to use the Planning Space Desktop client application, this must be installed to your own Windows machine. The installer does not require local Administrator permissions to install, and the client program is self-updating, therefore simple to maintain.
Note: Each Planning Space Desktop installation is specific to a Planning Space Web server, but you can use the same client app to connect to different Planning Space tenants in the same server.
Login to the Planning Space Web home page: see Launch Planning Space Web.
Click the PlanningSpace installation button:

A small executable file will be downloaded by your browser: the filename contains the address of the Planning Space server and the tenant name 'planningspace.s.SERVERADDRESS[TENANTNAME].setup.exe'.
Run the EXE program (this does not need Windows Admin permissions because the installation is made into your personal Windows account files), and wait for all of the Planning Space files to download:

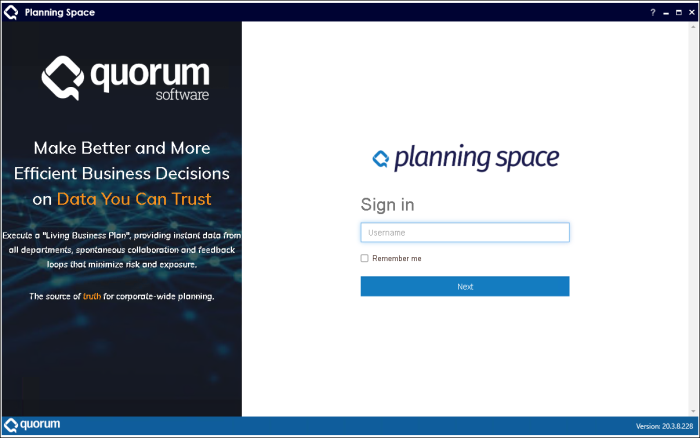
When the download is complete, the Planning Space client application program will automatically launch:

(The information banner on the left-hand side will not be displayed in case the application window is less than a certain width.)
See Launch Planning Space Desktop for more information about using Planning Space Desktop.
Note: You will have a locally-installed client in your Windows account for each Planning Space Server that you connect to. The default location for these files is in the folder 'C:\Users\{USERNAME}\AppData\Local\PalantirDeployment'. You can delete the original EXE file as this will not be used again.
A shortcut to run the Planning Space Desktop application will be created in the Windows applications menu, under the folder 'Palantir 20.3'.
